Step On How To Setup 2-Factor Authentication.
Step 1: You need to download the Microsoft Authenticator app. Download the app from the App Store (for iOS) or Google Play Store (for Android). You may also click here to scan the QR code to download the app.
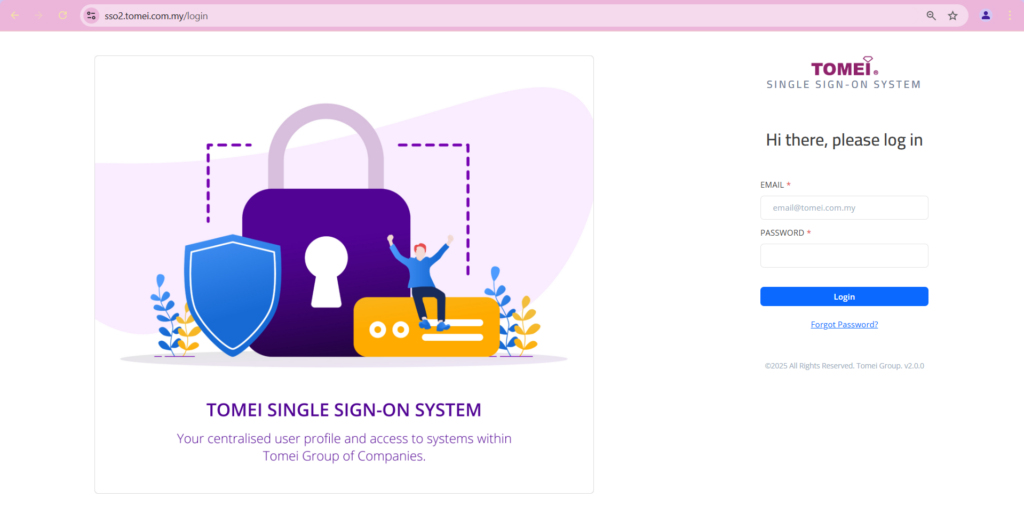
Step 2: Go to this page SSO2. Then, you will need to key in your email and password into the provided field and click ‘Login’ button. The password is same with your current SSO version 1. If you do not remember your password, please click the link ‘Forgot Password?’
Step 3: Once click login, you will need to setup the 2-Factor Authentication.
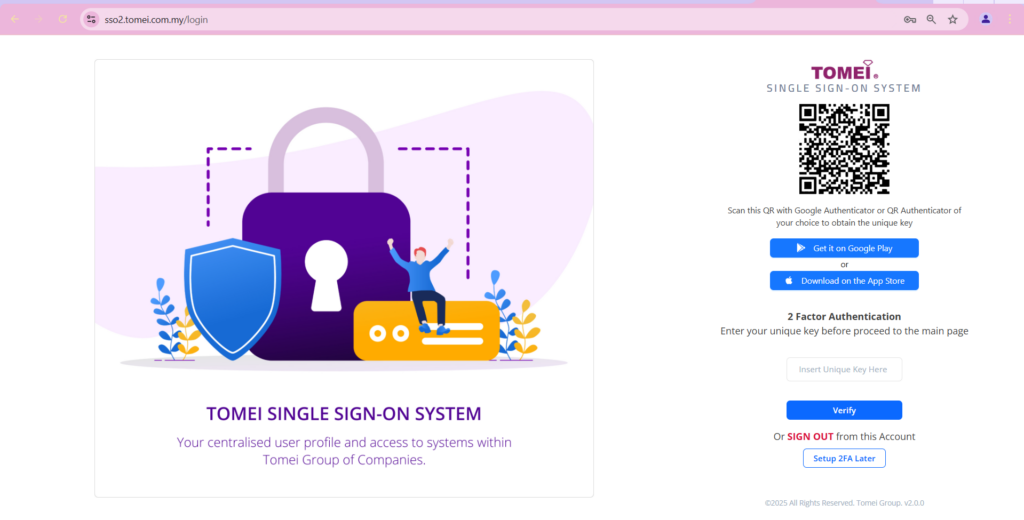
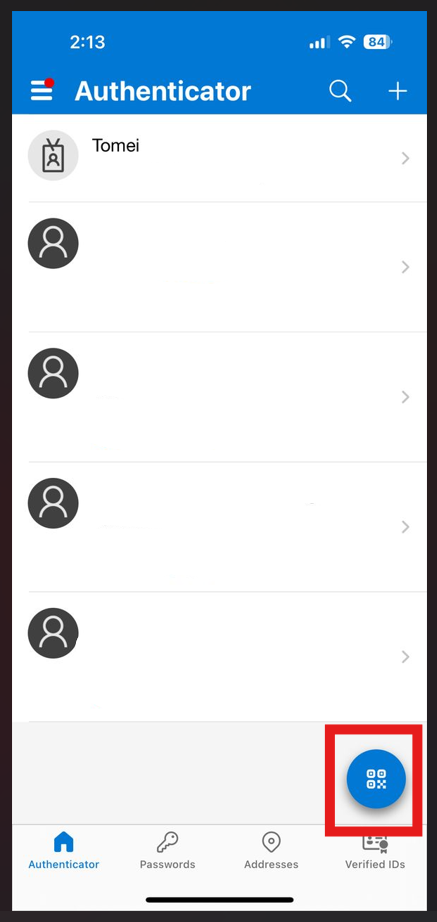
Step 4: Open Microsoft Authenticator App on your phone and click this icon as shown as figure below to scan the QR code display on SSO2 page.
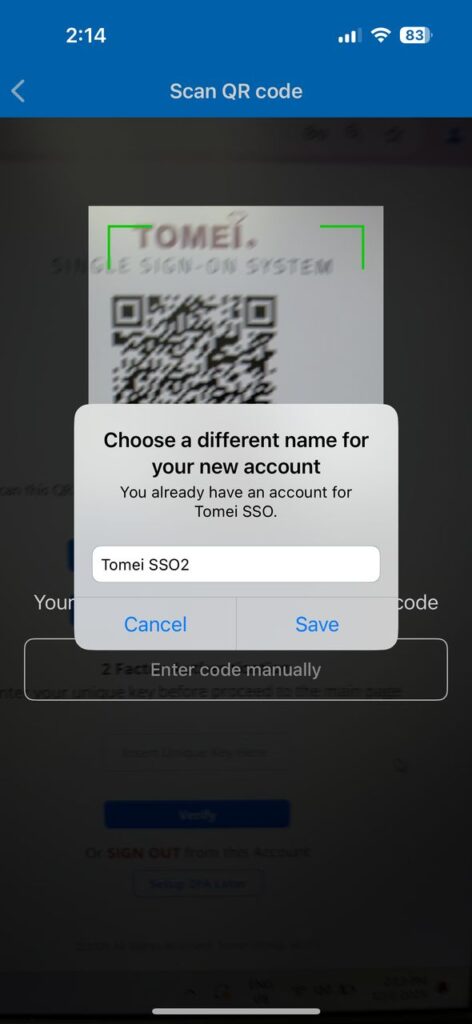
Step 5: Scan the QR code display on SSO2 page by using the app on your mobile device. Then, you may set the name after scan and click ‘Save’ button as shown as figure below.
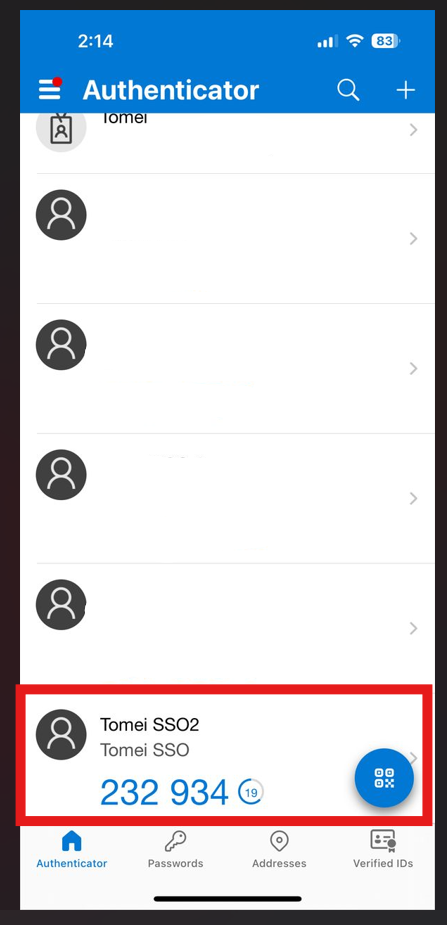
Step 6: Once finish setup 2-Factor Authentication, then it will shown the unique key to access SSO2 page as shown as figure below on your mobile device app. After this, every time you want to access to the SSO2 system, you will need this unique key to login. For your information, the unique key will be refresh every 30 seconds. So you must ensure to key in in 30 second to proceed to login. If not, you will need to key in new unique key.
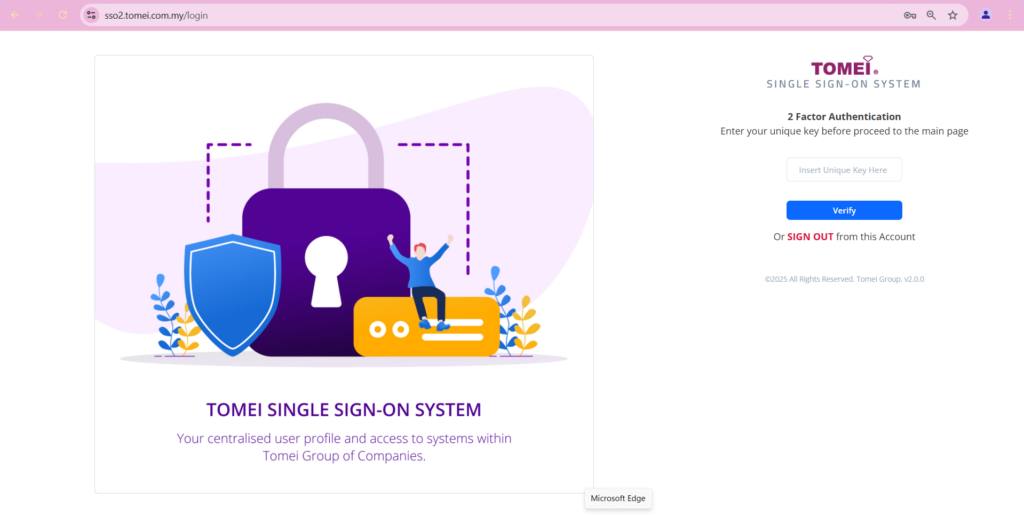
Step 7: Get the unique key display on your mobile device and enter it to the SSO2 page as shown as figure below and click ‘Verify’ button.

Now, you are able to login to the SSO2.
Step On How To Create Passcode For Approval System.
Every time you want to Approve/Reject an approval request you will be needed the passcode before proceed with the process.
Step 1: Go to SSO2 page. Enter your email as username and password then, click ‘Login’ button.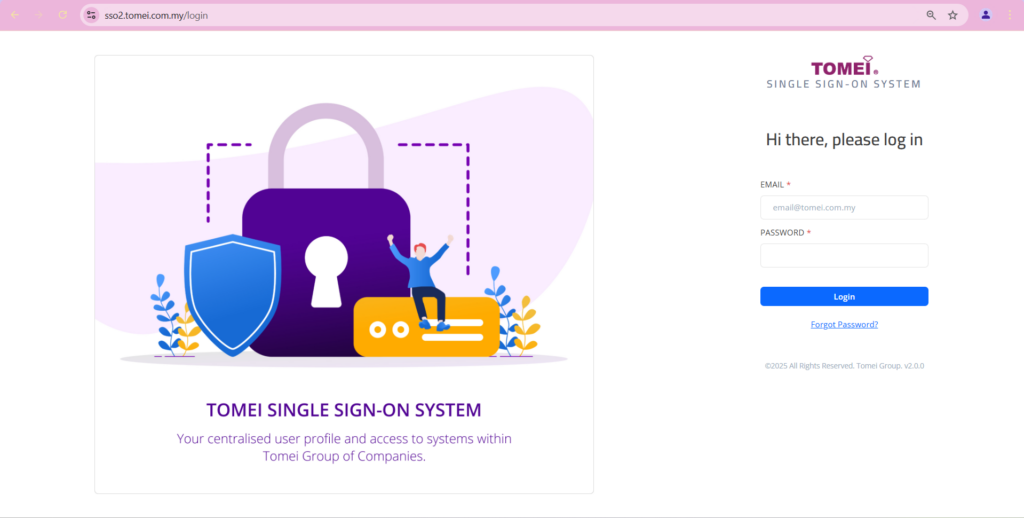
Step 2: Enter the unique key by get it from Microsoft Authenticator app on your mobile device.
Step 3: Open Microsoft Authenticator app on your mobile device and get the unique key.
Step 4: Enter the unique key and click ‘Verify’.
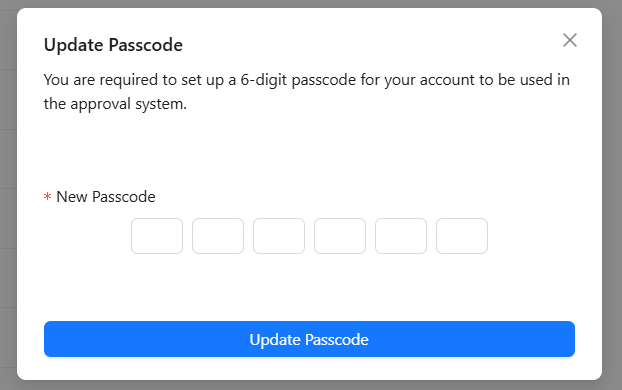
Step 5: After successful login to the SSO2 for the first time, figure below will appeared on your screen to create the passcode. Key in your passcode in the box provided and click ‘Setup Passcode’.
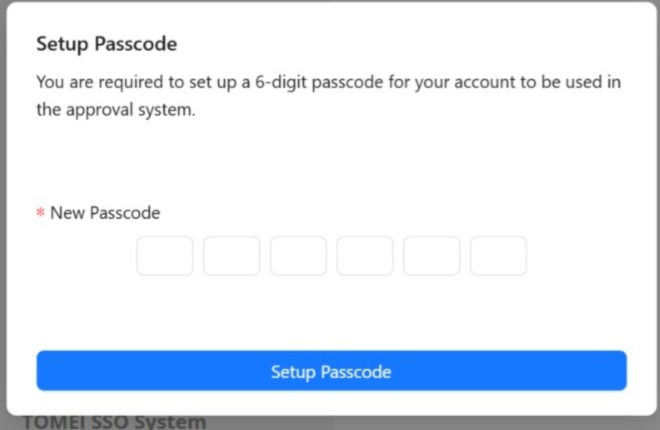
Now, you are successfully create the passcode.
Step On How To Approve/Reject/Reassign approval through email.
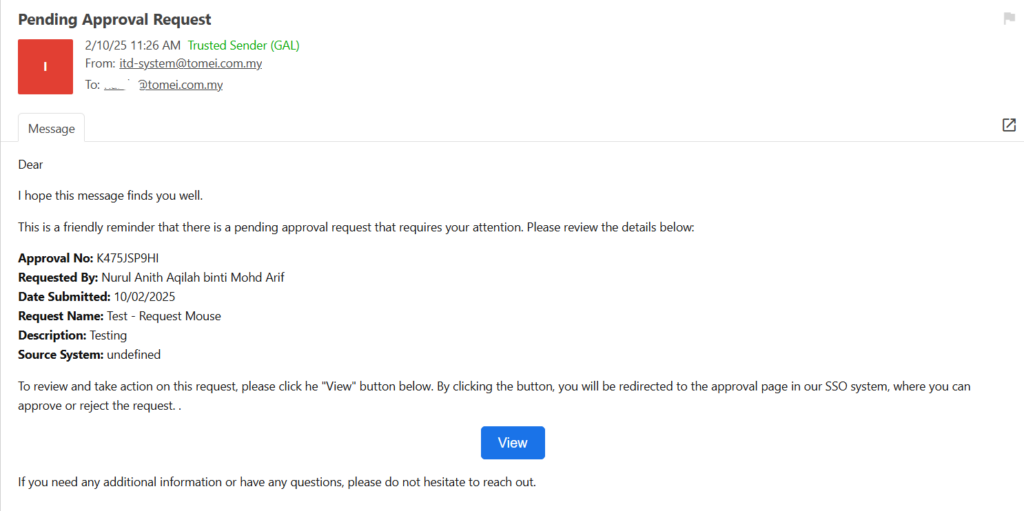
Step 1: You will get an email notification from itd-system@tomei.com.my. User request for an approval. Then, you need to click the ‘View’ button.
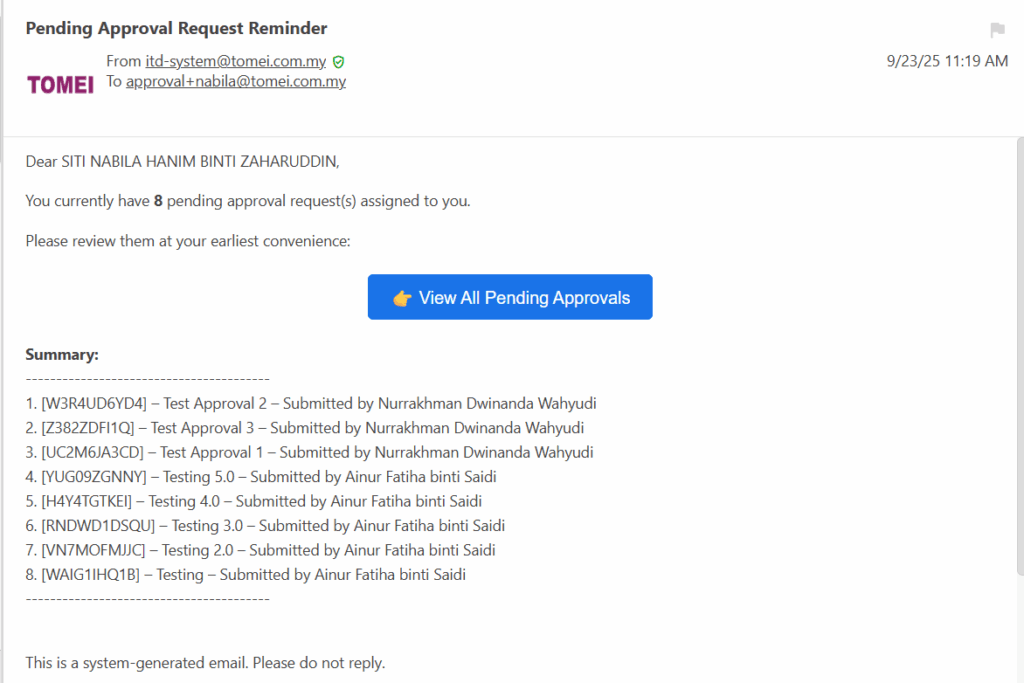
Approver will receives one summary email daily if there are pending approvals. The email as figure below. Then, you need to click the ‘View All Pending Approvals’ button.
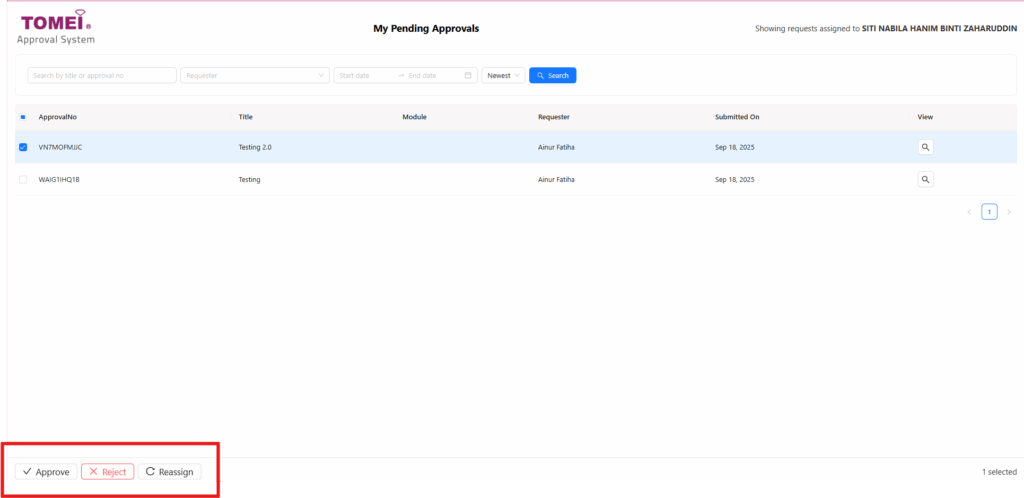
Step 2: This is the screen will be display to view all the approval request details. Then, you can proceed to approve/reject/reassign the approval request by click ‘View’ icon at the right side.
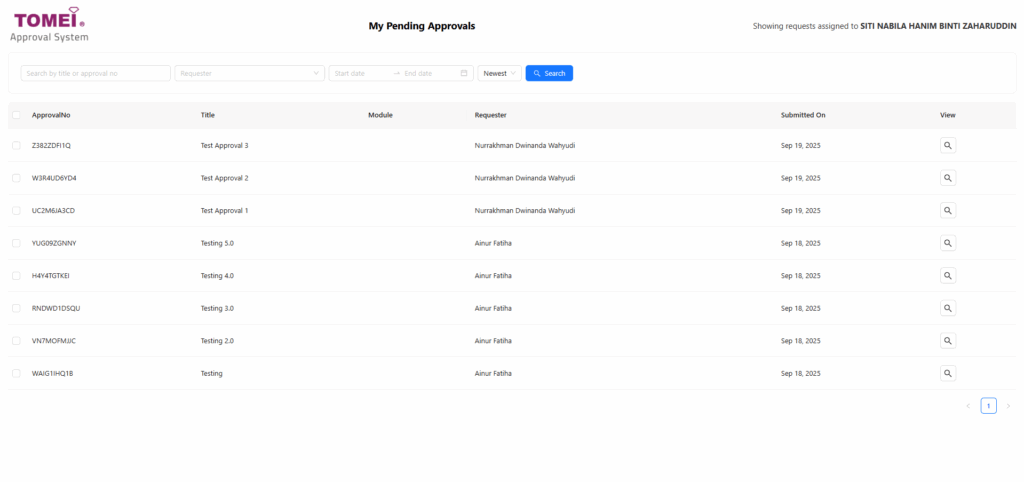
User can also tick the checkbox at the left side to perform the action required.
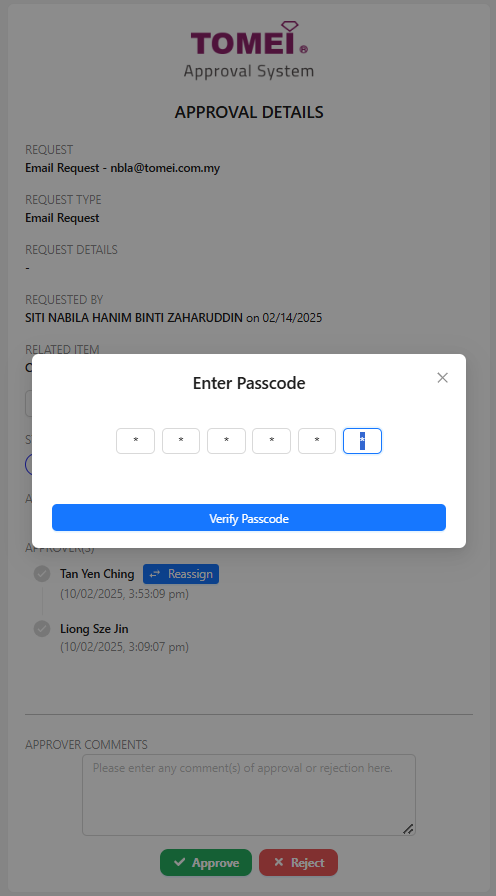
Step 3: You will need to enter the passcode before proceed to approve/reject/reassign an approval request. After enter passcode, you may click ‘Verify Passcode’ button.
Step 4: Then, it will shown as figure below. You can click ‘Go to approval detail’ button if want to review again the request details.
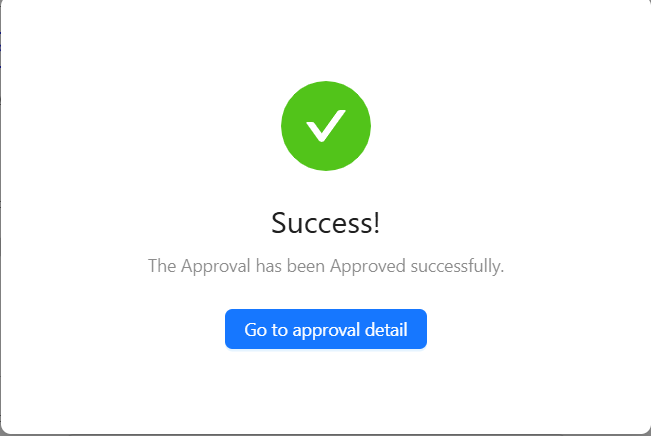
Now, you are successfully approve/reject/reassign an approval request.
Step If You Are Forget Your Passcode.
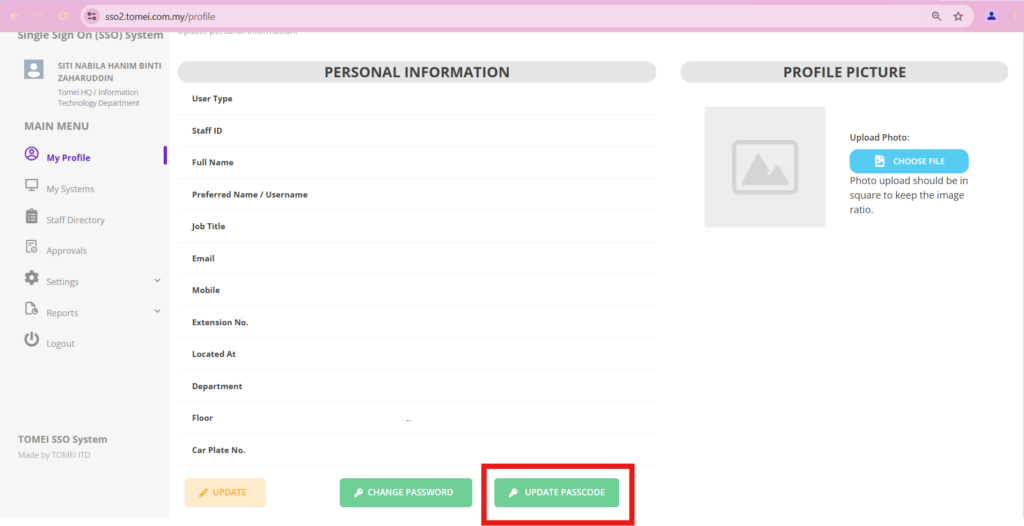
Step 1: Login to SSO2 and go to the ‘My Profile’.
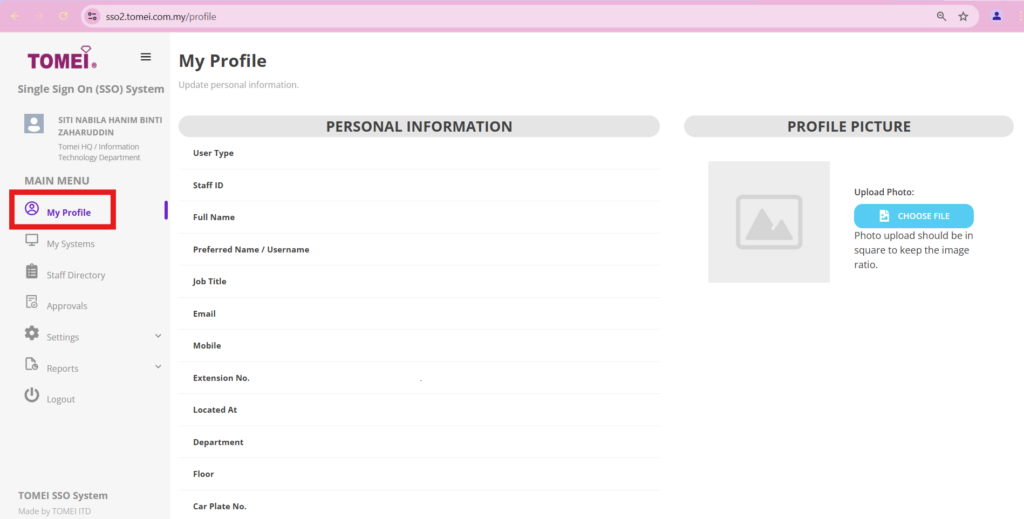
Step 2: Click on ‘Update Passcode’ to change your passcode.
Step 3: Enter your new passcode and click ‘Update Passcode’ button.
Now, you are successfully change the passcode.
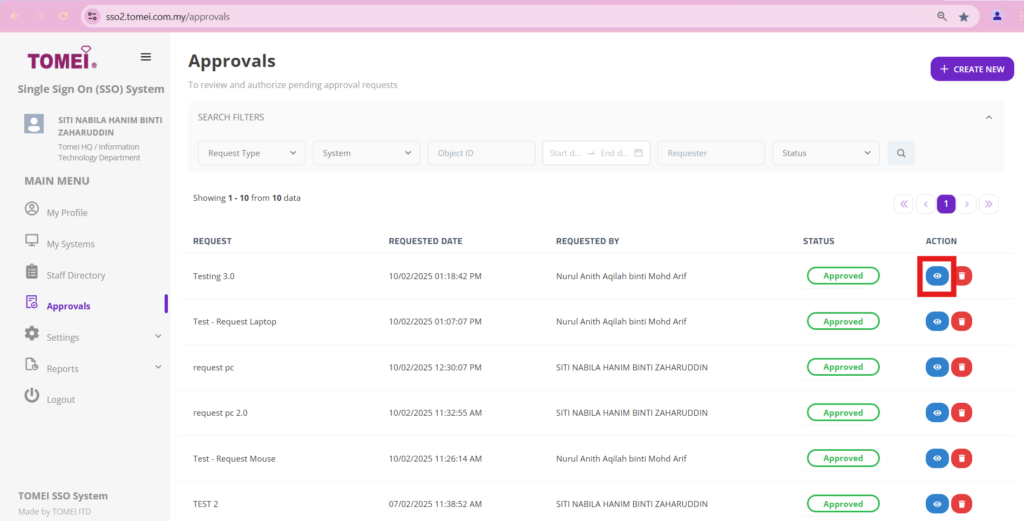
Step On How To View Approval Details In SSO2.
Step 1: Login to SSO2 system.
Step 2: Click on ‘Approval’ program at the left side as shown as figure below.
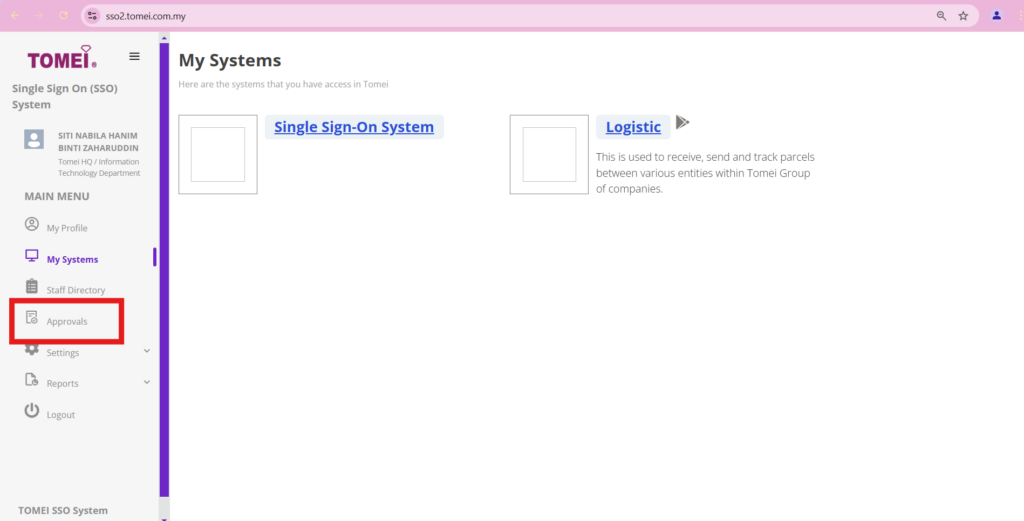
Step 3: All the list of approval will be shown on this page. You may click eye icon on the right side to view the details of the approval.